
Table of Contents
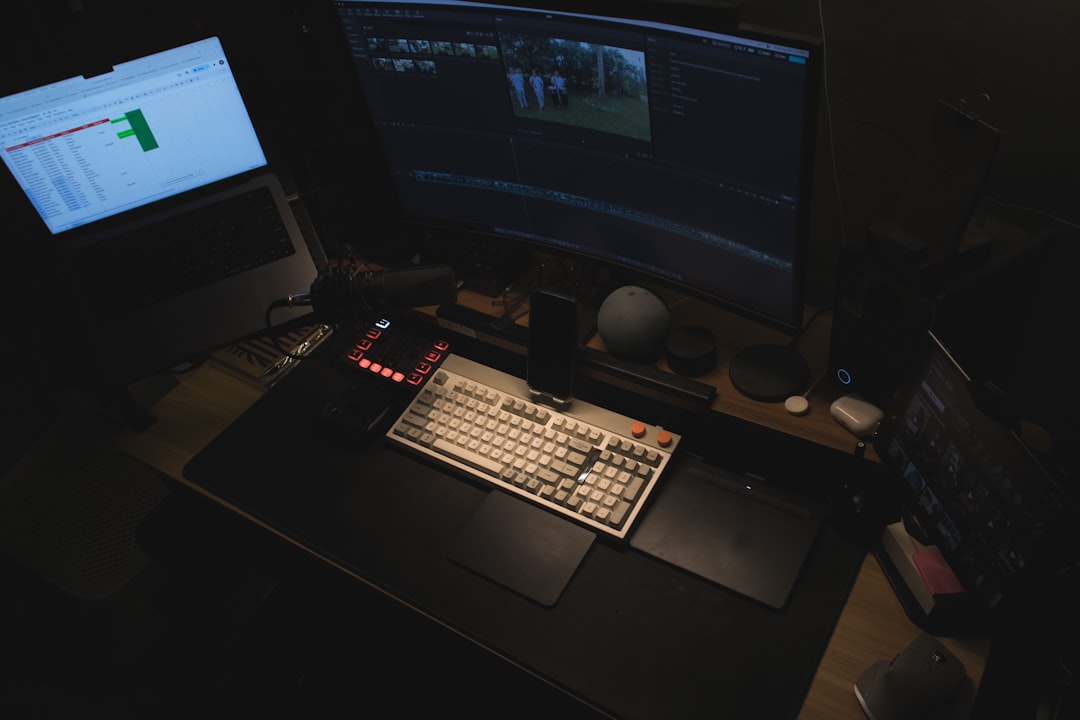
Editing your video is only half the job. Exporting it the right way is what actually makes it shine on YouTube and Instagram Reels. One wrong setting and your crisp video can turn blurry, laggy, or poorly cropped. The good news? CapCut makes exporting simple — if you know which buttons to press.
TLDR: Use 1080p or higher resolution, the right aspect ratio (16:9 for YouTube, 9:16 for Reels), 60fps when needed, and a high bitrate for sharp quality. Always export in MP4 with H.264 for best compatibility. Turn on smart HDR only if your footage supports it. And never forget to double-check file size before uploading.
Let’s break down the 7 CapCut export settings you should be using. Simple. Clear. No tech headaches.
1. Choose the Right Resolution (1080p Is Your Best Friend)
Resolution is clarity. The higher it is, the sharper your video looks.
For most creators, 1080p (1920×1080) is perfect. It looks professional. It loads fast. It works everywhere.
- YouTube: 1080p minimum. 4K if you filmed in 4K.
- IG Reels: 1080p is ideal. Instagram compresses heavily anyway.
If you shot in 4K, export in 4K. But do not upscale 1080p footage to 4K. It will not magically improve quality.
Pro tip: Higher resolution increases file size. Make sure your internet can handle the upload.
2. Set the Correct Aspect Ratio (This Is Huge)
This setting can make or break your video.
Aspect ratio controls the shape of your video.
- 16:9 – Landscape. Perfect for YouTube.
- 9:16 – Vertical. Essential for IG Reels.
- 1:1 – Square. Rare now, but still usable.
If you upload a horizontal video to Reels, it will look awkward. If you upload vertical to YouTube (long-form), you get black bars.
Before export, double-check your canvas size in CapCut.
Golden rule: Match your aspect ratio to your platform.
3. Use 60fps When Motion Matters
FPS means frames per second. It controls smoothness.
- 24fps: Cinematic look.
- 30fps: Standard and safe.
- 60fps: Super smooth. Great for action and movement.
If your video includes:
- Fast movement
- Sports clips
- Gaming
- Dance videos
Then export in 60fps.
If you filmed in 30fps, do not export in 60fps. It does not add smoothness. It only increases file size.
For YouTube, both 30fps and 60fps work great. For Reels, 30fps or 60fps is fine — just match your original footage.
4. Set Bitrate to High (Avoid Auto If Possible)
This is where many creators mess up.
Bitrate controls video quality. Higher bitrate = better detail retention.
CapCut often sets bitrate to “Recommended.” That is usually okay. But not always perfect.
Suggested bitrate settings:
- 1080p 30fps: 8–12 Mbps
- 1080p 60fps: 12–20 Mbps
- 4K: 35–45 Mbps
Too low? Your video looks blurry after upload.
Too high? Giant file size. Slow uploads.
Find the balance. For most creators, 12–16 Mbps for 1080p is the sweet spot.

5. Always Export in MP4 with H.264 Codec
Now we get slightly technical. But stay with me.
The format should be MP4.
The codec should be H.264.
This combo is:
- Compatible everywhere
- High quality
- Efficient file size
CapCut usually defaults to this. Still, double-check.
Avoid random format experiments unless you truly understand codecs.
Simple rule: MP4 + H.264 = Safe and professional.
6. Turn Off Smart HDR (Unless You Shot in HDR)
HDR can look amazing. But only when used correctly.
If your original footage was not filmed in HDR, do not export in HDR.
Why?
- Colors may look strange.
- Brightness may shift.
- Some devices display it incorrectly.
YouTube supports HDR. Instagram mostly compresses it.
For most normal content creators, standard color export works best.
Keep it simple. Clean colors win.
7. Check File Size Before Uploading
This one is often ignored.
Large file size means:
- Slow upload
- Potential upload failure
- Unnecessary storage waste
Instagram is especially aggressive with compression. If your file is massive, Instagram will crush it.
Try to keep:
- Reels: Under 200MB if possible
- YouTube: Flexible, but optimize reasonably
Export. Check size. Adjust bitrate if needed. Then upload.
Quick Comparison Chart
| Setting | YouTube (Long Form) | IG Reels |
|---|---|---|
| Aspect Ratio | 16:9 | 9:16 |
| Resolution | 1080p or 4K | 1080p |
| FPS | 30fps or 60fps | 30fps or 60fps |
| Bitrate | 12–20 Mbps (1080p) | 8–16 Mbps |
| Format | MP4 (H.264) | MP4 (H.264) |
| HDR | Only if filmed in HDR | Usually Off |
| File Size Goal | Optimized but flexible | Keep under 200MB |
Bonus Tips for Even Better Quality
Because why stop at seven?
- Export once. Avoid re-exporting the same file multiple times.
- Upload from desktop if possible. Mobile uploads sometimes compress more.
- Good lighting beats high settings. Quality starts at filming.
- Preview after upload. Always watch your video once it’s live.
Common Mistakes to Avoid
Let’s save you from heartbreak.
- Exporting vertical videos in 16:9.
- Using extremely low bitrate.
- Upscaling 720p to 4K.
- Forgetting to match fps with footage.
- Uploading without watching the final file.
These tiny mistakes can reduce your video quality instantly.
Final Thoughts
You don’t need fancy gear to look professional. You just need the right export settings.
Remember this:
- Match aspect ratio to platform.
- Use 1080p or higher.
- Set a healthy bitrate.
- Stick with MP4 and H.264.
- Keep file size reasonable.
That’s it.
CapCut is powerful. But the magic happens when you press export correctly.
Now go produce something awesome. And let it look as good online as it did in your editor.