
Table of Contents
When you own any type of business that has or depends on e-commerce revenue, you will encounter many problems. One such problem is likely to be managing several important elements that could affect your company’s financial situation, and one such example is shipping and delivery. You probably already know this, as you clicked on an article explaining how to charge for shipping by item.
So be carefree. You are in the right place. It may seem hard to coordinate every step of the shipping process, but it can be done. Today, we’ll share a few tips and plugin recommendations that will help you with deliveries and help guide your store to seamless success.
WooCommerce Table Rate Shipping – PRO
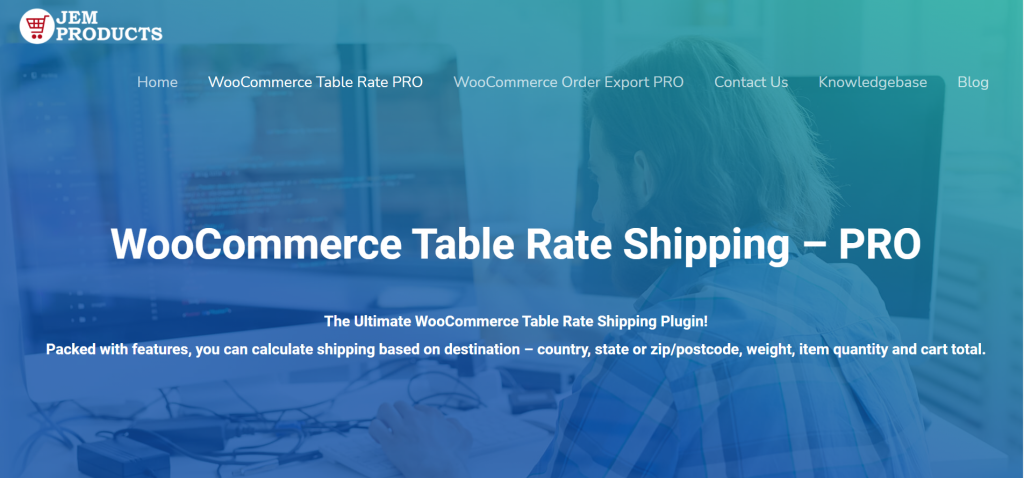
WooCommerce, unlike other business websites, has delivery as one of the key items of the site in charge of the business. But one of the problems you may face is the lack of necessary add-ons, as default WooCommerce is quite bare-bones. But, as with anything else concerning WP, plugins are to the rescue. We would like to present you with a new plugin named WooCommerce Table Rate Shipping – PRO. With this extension, you can set a wide range of shipping methods using a unique or fixed fee delivery.
It also allows its users to build their own detailed shipping prices. The best thing about that is that you can set those prices to reflect your standards and needs. But that is not all. There are many features that will save time and make your job easier. One of such features allows the users to set up premium shipping rates. You are probably thinking that those premium shipping rates are not a good idea, but you would be surprised.
Whit those premium shipping rates, you can establish and maintain a successful and profitable business or enterprise. They will help you with extra charges that you would typically encounter when managing any kind of shipment. As you can see, WooCommerce Table Rate Shipping – PRO is a very useful plugin that changes your shipping game.
Step by step process
Step 1
The first thing you need to do is set up your shipping zones. Go over to “WooCommerce Settings” and find the shipping tab. After that, pick a region that the shipping method will cover. You can apply it anywhere or in a specific country, depending on what it is you’re doing. A simple dropdown menu will appear, and you can choose whatever suits you.
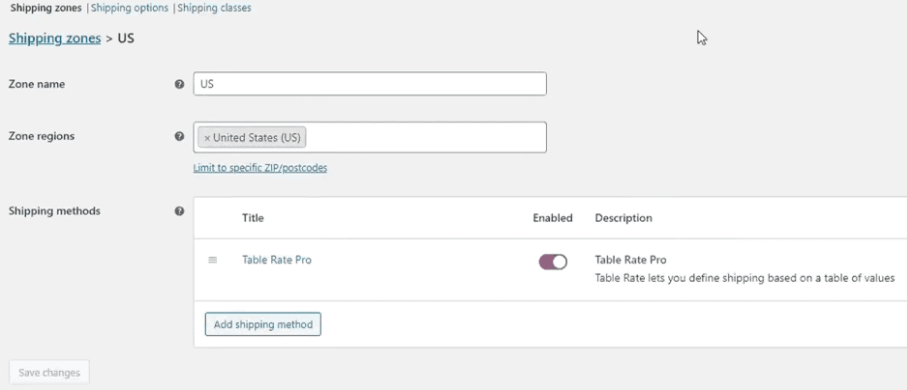
Once the regions have been assigned, you’ll have to add the shipping method, so let’s move on to the next step.
Step 2
After setting your shipping zone, the next thing you need to do is add your shipping methods. Click on the “Add Shipping Method” button, wait for the pop-up to appear, and choose “Table Rate Pro” as your shipping method.
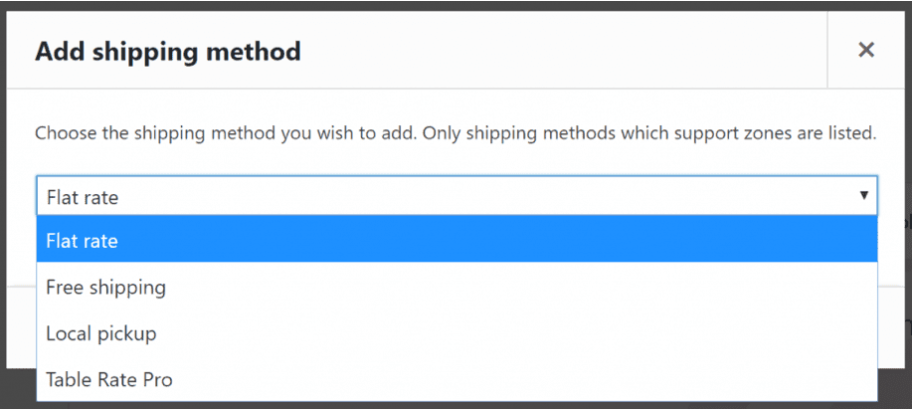
When that’s done, just make sure to enable it by clicking the “Enable” button, or whatever you set up will not be activated.
Step 3
Once you can see the method on your dashboard, it’s time to edit it and set it up by item count.
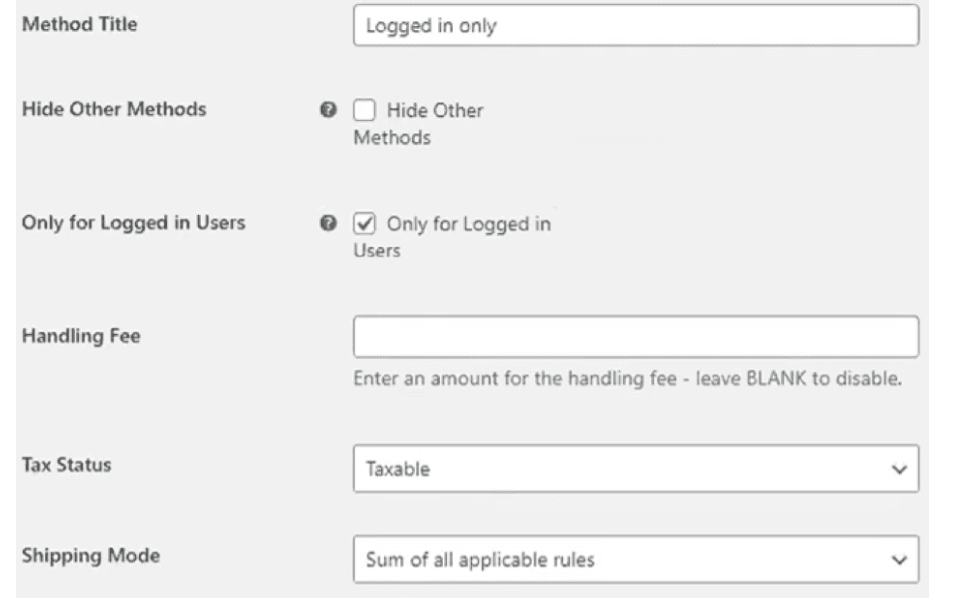
When you click on “Edit,” you’ll be presented with the basic options such as adding a method titled, showing it for logged-in users only, adding a handling fee, and making the shipments taxable or non-taxable. These are all pretty straightforward, and since this isn’t what we’re focusing on today, we’ll leave you to your own devices and let you just pick whatever works best.
Step 4
This is where we finally reach the “Advanced Rules” section. It may be a tad confusing to look at at first, but trust us, it’s quite simple. All you need to do is navigate to “Table Rates” and set it up as per your needs.
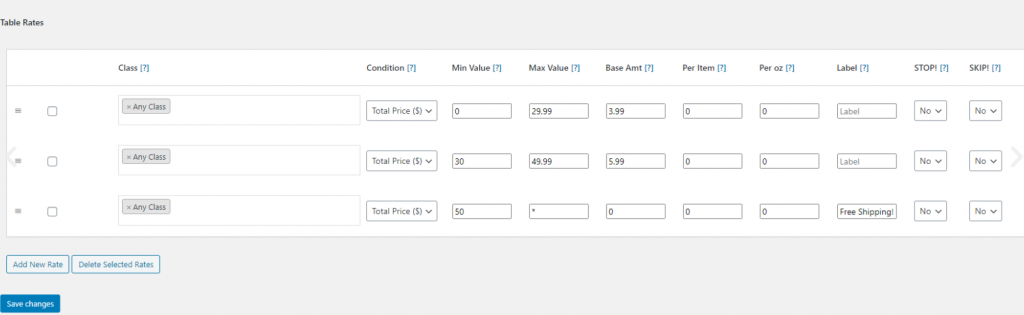
The first thing you’ll do is set up the class of items these shipping rules will be applied to, and since you already run an e-commerce store, we won’t go into too many details as in what a product class is and so on. Moving on to “Minimum and Maximum value,” these fields denote the number of products. If you want this shipping rule to be all-encompassing, simply put 1 under Min, and choose the asterisk for the Max (this denotes infinity).
After that, you’ll need to set up a “Base Amount,” aka the shipping charge for every shipment, and add a “Per Item” charge, aka how much will be added per item along with the base amount. So, let’s say the base amount is $3, and the per-item charge is 1$. If a customer orders 3 items, they’ll be charged $3 as the base amount plus $1 per item, which results in a shipping charge of $6. And that’s it. It’s as simple as that.
Of course, there are other rules this plugin lets you play around with, such as per oz, etc, but you can simply add those should you ever need them. We’ve done what we’ve set out to do. Oh, and don’t forget to click on “Add New Rule” in the bottom left corner, or all your efforts will have been for nothing.
Another Way To Help With Shipping and Orders

If you want to completely create the perfect page that will have everything you need to run a successful store, then you will like WooCOmmerce Order Export – PRO. With this plugin, you can export all your data as you want, and those orders will be lined up in columns to make it easier to cope with your orders. This plugin will help you when exporting orders or any shipping fees. With it, you will be able to cope with copious amounts of data that come with a growing business.
Conclusion
Now it’s all up to you. You need to try for yourself which of these two proposed plugins best suits your needs and desires. Each of them has its advantages that will surely suit you. Also, they will help you with finding out what is your preferred way of selling and shipping products.