
Table of Contents
As artificial intelligence (AI) tools continue to advance, they are increasingly being used to enhance and repair digital images. From removing blemishes to sharpening blurry photos, AI photo fix applications offer users quick and often impressive results. However, as with many technologies, these tools aren’t flawless. They can produce unexpected outcomes, especially when faced with complex images or under-defined facial features.
TLDR: AI photo enhancing tools can be powerful when used correctly but are prone to issues like over-smoothing, loss of detail, and false enhancements. Understanding common problems such as poor face reconstruction or incorrect color correction can help users troubleshoot for best results. Solutions involve using high-quality source images, testing different models, and combining manual edits with AI-generated outcomes. With the right strategies, users can significantly improve the output of their AI-assisted photo fixes.
Common Issues in AI Photo Fixing
Despite their increasingly sophisticated algorithms, AI programs can still falter when repairing or enhancing photos. Below are some of the most common issues users may encounter:
1. Over-Smoothing of Textures
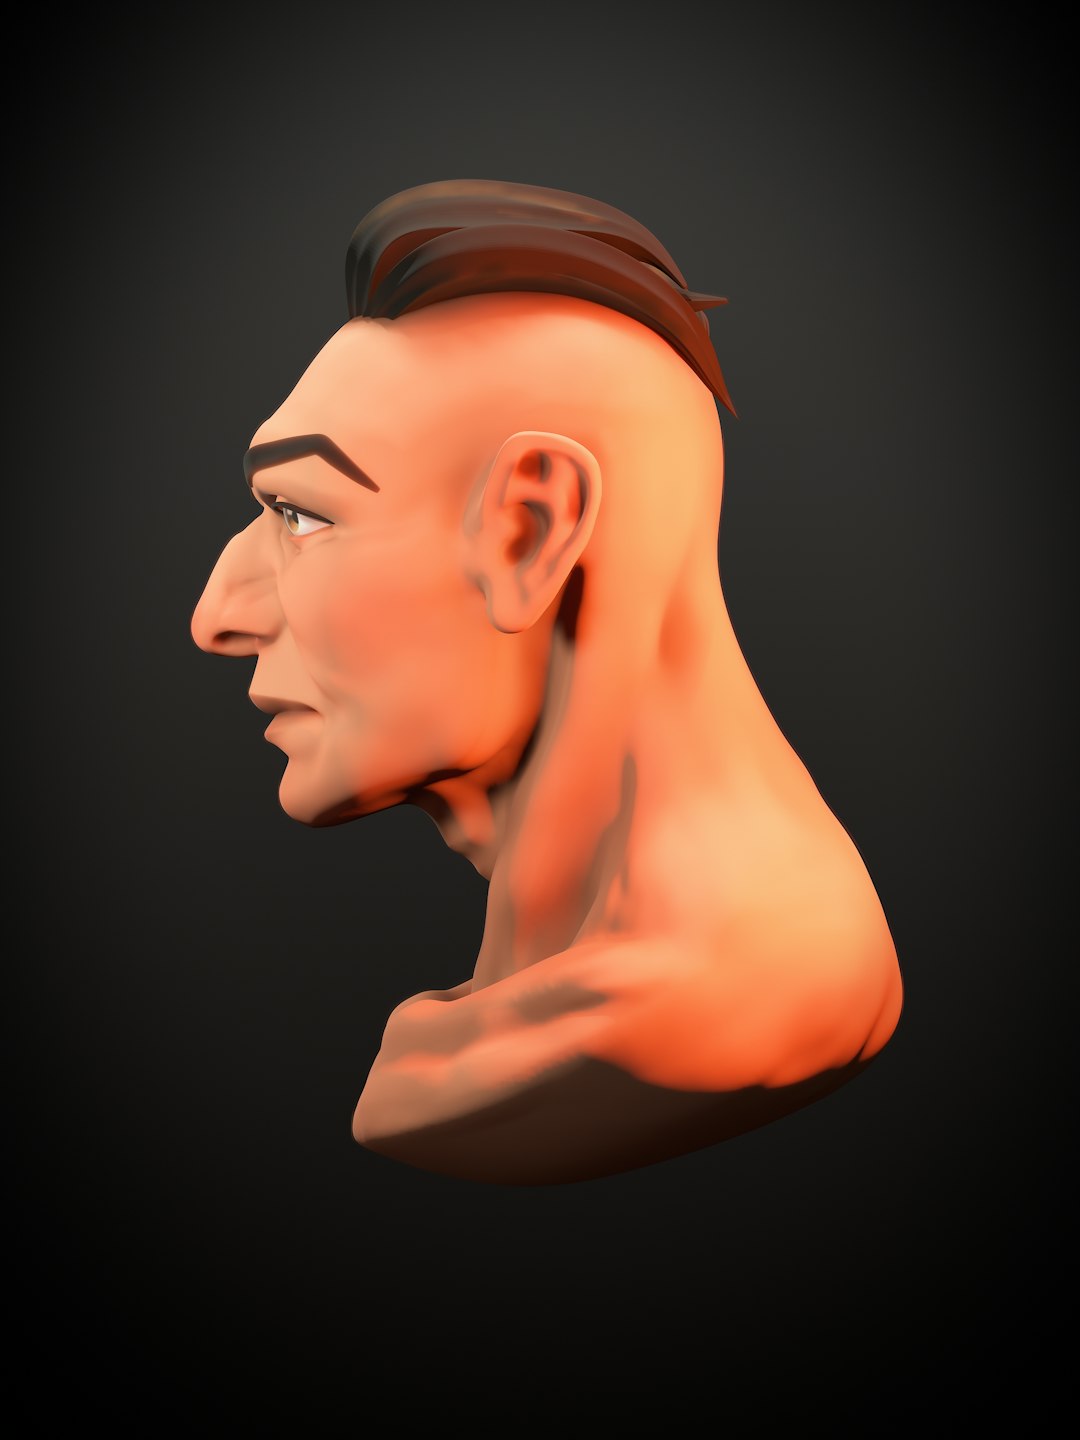
Many AI tools aim to smooth out noise or defects in a photo. While this can be helpful for cleaning up grainy images, it often leads to an unnatural, “waxy” look—particularly on human faces.
Troubleshooting Tips:
- Use AI tools that offer a “strength” slider to adjust the level of smoothing applied.
- Compare output from multiple AI services—lighter algorithms usually retain more texture.
- Manually retouch areas that appear too smooth using traditional photo-editing software like Photoshop.
2. Loss of Details in Eyes and Hair
In portraits, AI often struggles to accurately retain or recreate subtle details like eyelashes, eye reflections, or individual hair strands. These areas can appear too soft or even artificial after processing.
Troubleshooting Tips:
- Use AI models specifically trained for facial enhancements.
- Apply targeted sharpening only in problematic zones.
- Overlay high-resolution reference images or manually paint in lost details post-AI processing.
3. Poor Face Recognition or Misinterpretation
AI photo fixers often rely on object recognition to identify and enhance faces. But this can backfire if the model incorrectly interprets parts of the image—leading to warped features or extra elements that never existed.
Troubleshooting Tips:
- Crop the image to focus on the face before running it through AI processing.
- Choose AI software that allows manual adjustment for feature detection zones.
- If the AI cannot detect the face reliably, try manually retouching with the help of layer masks.
4. Color Shifts or Inaccurate Tones
Automatic color correction tools in AI software may misjudge lighting or intent. Skin tones can appear too red, too pale, or even blue. Similarly, environmental hues may become inconsistent or exaggerated.
Troubleshooting Tips:
- Compare output images with source material to verify true colors are retained.
- Use AI software that includes built-in white balance or tonal curve adjustments.
- Apply color correction manually in post, referencing accurate color charts as needed.

5. Resolution Artifacts
When upscaling a low-resolution image, AI might create artifacts such as halo effects around edges or overly sharp outlines that differ from the original content. These artifacts may not be immediately visible until the image is viewed at full size or printed.
Troubleshooting Tips:
- Upscale in small increments rather than a 4x or 8x jump all at once.
- Use a combination of upscaling algorithms rather than depending on a single tool.
- After AI fixes, apply a subtle denoising filter to clean sharp edges without losing structure.
Best Practices For Optimal Results
Improving your results with AI photo enhancement tools requires both technical understanding and some creative experimentation. Below are some general best practices to follow:
Start With The Highest Quality Image Available
AI tools perform better with higher quality inputs. Whenever possible, avoid using heavily compressed images. Blurry, overexposed, or underexposed images will likely produce less satisfactory enhancements.
Understand The Strengths Of Each Tool
Some AI platforms excel at face enhancement, others at de-noising or resolution upscaling. Knowing what a particular tool specializes in can help prevent disappointment and save time.
Combine Multiple Tools For Better Results
Many professionals use a layered approach. They might denoise an image in one AI tool, sharpen it in another, and adjust color in a third. Integration with software like Adobe Lightroom or Photoshop also provides better manual control post-AI processing.
Example workflow:
- Denoise in Topaz DeNoise AI
- Upscale using Gigapixel AI
- Color correct and finalize in Lightroom
Use Manual Overrides Whenever Possible
AI-generated results should be thought of as a starting point—not the final product. Most professional applications include automatic and manual options side-by-side. Patience and artistic control often make the difference between good and great.
Common Mistakes to Avoid
- Uploading Ultra-Low-Quality Thumbnails: AI can’t add true detail where none exists. Always source the best resolution image available.
- Over-processing: Running multiple AI passes can degrade rather than improve an image. Less is often more.
- Ignoring Lighting Consistency: Altering faces or features without considering surrounding light can make the image feel disjointed.
FAQ: Troubleshooting AI Photo Fix Issues
- Why does the AI make my face look cartoonish?
- Often, it’s a result of too much smoothing or the algorithm misinterpreting texture as noise. Try reducing the enhancement strength or use a different model more focused on realism.
- What do I do if the AI doesn’t detect a face?
- Try cropping in tighter around the face or adjusting angles. If that fails, switch to a tool that lets you manually designate facial recognition zones.
- Can I reverse the changes after applying the AI fix?
- Most tools do not let you undo changes after export unless a layered format (like PSD) was used. It’s best to save intermediate versions.
- Is using multiple AI tools better than one?
- Yes. Different tools specialize in different areas. Using one for face cleanup and another for resolution usually yields better results than relying on a single tool.
- How can I fix incorrect eye or teeth enhancements?
- Use manual touch-up tools to either mask out specific AI changes or blend with a pre-edited layer that retains accurate features.
Ultimately, leveraging AI for photo enhancement demands a balanced approach. While it acts as a powerful tool for creatives and professionals, combining it with artistic input ensures the most polished final product.