Table of Contents
STL files are the backbone of desktop 3D printing. Short for “Standard Tessellation Language” or “Stereolithography,” STL files define the surface geometry of a 3D object without including color, texture, or any other design elements. As 3D printing becomes more popular among hobbyists, educators, and professionals, the need to understand how to edit STL files efficiently and effectively has grown significantly.
Whether modifying a pre-existing model or fixing design issues prior to a print job, understanding how to work with STL files can dramatically improve print success rates and open the door to advanced customization. This article walks through various tools and techniques for editing STL files for 3D printing, even if you’re a beginner.
Understanding the Basics of STL Files
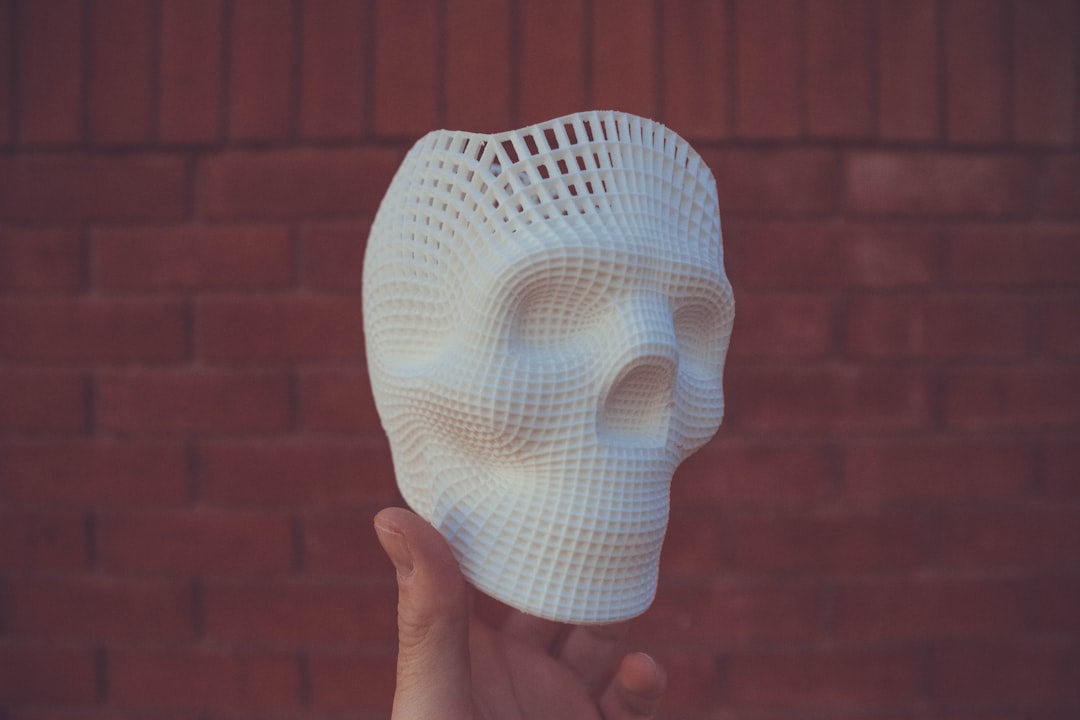
Before diving into editing, it’s essential to understand what an STL file is made of. Essentially, an STL file is a collection of triangular facets that describe the shape of a 3D model. These facets are defined by three points (vertices), and the more facets the file includes, the higher the model’s resolution.
There are two primary types of STL files:
- ASCII STL: Human-readable and easier to debug manually, but larger in size.
- Binary STL: More compact, widely used in the industry, and faster to process.
Common Reasons for Editing STL Files
Users often find themselves needing to tweak STL files for various reasons:
- Fixing mesh errors like holes or gaps
- Scaling or resizing objects
- Separating or combining elements within a model
- Adding custom details or modifications
- Ensuring the model is manifold and ready for printing
Top Tools for Editing STL Files
There are several tools available—both free and premium—that allow users to make changes to STL files, each with its strengths and weaknesses.
1. Meshmixer (Free)
Meshmixer is a highly versatile tool developed by Autodesk, ideal for editing and repairing STL files. It’s perfect for sculpting, slicing, and checking model integrity.
Key Features:
- Auto-repair tools
- Supports complex mesh editing
- Ideal for combining/remixing models
2. Blender (Free & Open Source)
Blender isn’t specifically designed for 3D printing, but its expansive design capabilities make it a powerful tool for advanced STL editing.
Key Features:
- Precision modeling
- High-resolution sculpting
- Mesh analysis and cleaning plugins
3. TinkerCAD (Free, Web-Based)
Ideal for beginners, TinkerCAD is a simple, drag-and-drop CAD tool that’s web-based and user-friendly.
Key Features:
- Combines multiple STL files easily
- Simple UI suited for kids and novices
- Exports directly in STL format
4. Fusion 360 (Free for Hobbyists/Educators)
A powerful parametric CAD tool, Fusion 360 allows high levels of precision in STL editing. While the learning curve is steeper, the output is more controlled and professional.
5. Microsoft 3D Builder
This small but handy app for Windows allows you to perform basic operations like scaling, rotating, and repairing STL files.
Step-by-Step Guide to Editing STL Files
While the specific steps depend on the software used, here’s a general workflow that applies to most STL editing environments:
Step 1: Import the STL File
Start by opening your preferred tool, then import the STL file. Most applications support drag-and-drop or have an import function in the file menu.
Step 2: Analyze the Mesh
Check for non-manifold edges, holes, intersecting faces, or duplicate vertices. Tools like Meshmixer and Blender offer automatic mesh analysis.

Step 3: Make Modifications
- Resize: Adjust dimensions using scale tools.
- Delete/Insert Geometry: Remove unnecessary features or add new shapes.
- Combine Files: Merge multiple STLs into one project.
- Add Text: Many tools let you emboss or engrave text on surfaces.
Step 4: Repair the File
After editing, it’s essential to make the model watertight. Use built-in repair features to close holes and ensure the mesh is manifold (a closed, continuous surface).
Step 5: Export and Test
Export the edited file in STL format. Use a slicer like Cura or PrusaSlicer to preview the layers and catch any remaining issues before printing.
Tips for Effective STL Editing
- Work on copies: Always back up your original design to avoid accidental losses.
- Check orientation: Make sure the object is oriented in the optimal position for printing.
- Minimize overhangs: Designs with fewer overhangs need less support, saving material and time.
- Use keyboard shortcuts: Learning hotkeys in your editing software can save a lot of time over repeated tasks.

Exporting and Preparing for Print
Once your modifications are complete, export the file as a binary STL for better compatibility with slicers. Import the STL into your preferred slicer software and check:
- Layer preview: Review how each layer is constructed
- Support structures: Add auto-generated or custom supports as needed
- Wall thickness: Ensure all parts of the design meet printable thickness standards, typically 0.8–1.2mm minimum
After validating the settings, you can generate the G-code and proceed to print your custom 3D object.
Conclusion
Learning how to edit STL files for 3D printing can transform your printing workflow and vastly improve what you can create. From simple size adjustments and repairs to full-blown customization, mastering these skills allows users to go beyond static models and unlock the full potential of 3D printing.
FAQs
-
Q: Can STL files be edited directly?
A: Yes, STL files can be edited, but since they consist only of mesh geometry, changes must be made on the polygon level unless you convert them into solid models using CAD software. -
Q: What is the easiest software for beginners to edit STL files?
A: TinkerCAD is a popular choice for beginners due to its intuitive web-based interface and basic editing tools. -
Q: Why won’t my STL file print correctly even after editing?
A: STL files need to be manifold (watertight) and free of geometry issues for successful printing. Always run a mesh repair after editing. -
Q: Is it possible to convert an STL file to a solid model?
A: Yes, programs like Fusion 360 allow you to convert an STL mesh into a solid body for advanced feature-level modification. -
Q: Are STL files the only format used in 3D printing?
A: No, other formats like OBJ and 3MF are also used, especially when color and texture information is required.

