
Table of Contents
Do you love taking photographs? It’s never been easier to snap a pic. After all, almost everyone has a smartphone with them every minute of the day. This makes it possible to capture memories quickly and easily.
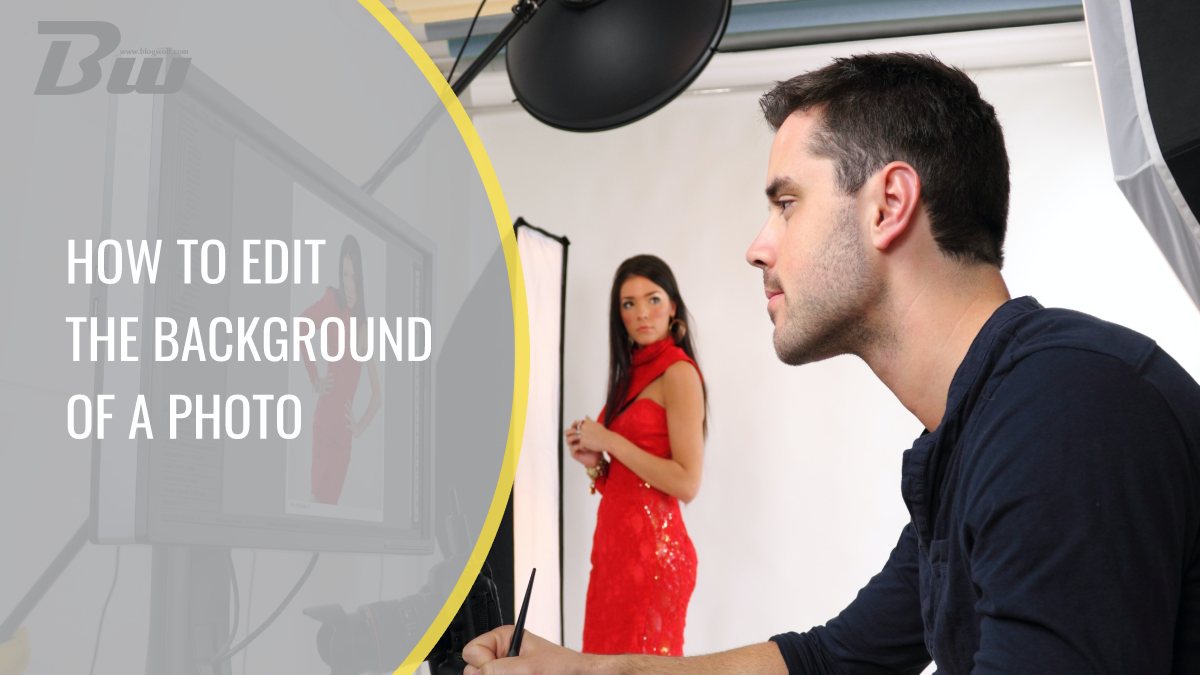
But not every photo is perfect. That’s why you need to understand a few editing tricks to take your photo library on your computer or your phone to the next level. Here we take a look at how to edit the background of a photo. It’s a great tip you can use anywhere you go.
Keep reading to discover an amazing photography editing tool that will make you look like a pro.
What You’ll Need

Editing a photo doesn’t have to be a complicated process. The key is to start with the right equipment. Fortunately, most smartphones and computers now come standard with a few features that allow you to perform basic editing.
But to really be able to effectively edit the background of a photo quickly and easily, you’ll need editing software like Photoshop or an editing app for your phone.
Keep in mind that editing the background requires a few specific editing features, so make sure that your software includes this feature.
Be sure to check out this useful background remover app.
Getting Started
Once you have the editing software loaded on your computer, grab the Quick Selection Tool. Then click and drag the brush around the area of the photo you want to select.
Now you’re ready to fine-tune the selection. This requires zooming into the area so you can see the area you’ve selected closer up.
Select and Mask
Go to the Properties panel and click View Mode. This will enable you to clearly see the entire area you’ve selected. View Mode will highlight the selected area so you can make sure it looks clean.
Refining Your Selection
To continue refining, use the Quick Selection Tool to apply final touches. It’s also useful to select the Refine Edge Brush Tool in Photoshop to keep the edges of the selected area as sharp and clean as possible.
Remove Color Fringing
Next, go to Output Settings and select Decontaminate Colors. This allows you to remove any color fringe that remains in your selected area. Choose New Layer with Layer Mask and tick OK to remove the background. Now you can paste in the image that contains your new background and resize this layer using the Free Transform tool.
The key is to focus on matching the colors along the edges so that everything will look as natural as possible. The more you practice, the easier the process will become.
Tips For How to Edit the Background of a Photo
If you’re like most people, you probably take a ton of photos throughout the year. Fortunately, these tips for how to edit the background of a photo will help your pics look better than ever before.
Keep exploring the library of articles on this blog to discover more cool content featuring unique tech-related tips and advice.